Hair Simulation
VML needed a scalable hair simulation workflow for character based projects. I was provided with the CGI character's masks, and 3D model to develop a comprehensive pipeline. During the project, requirements shifted to prioritise Unreal Engine 5 specifically, focusing on performance optimisation for interactive and gaming use-cases.
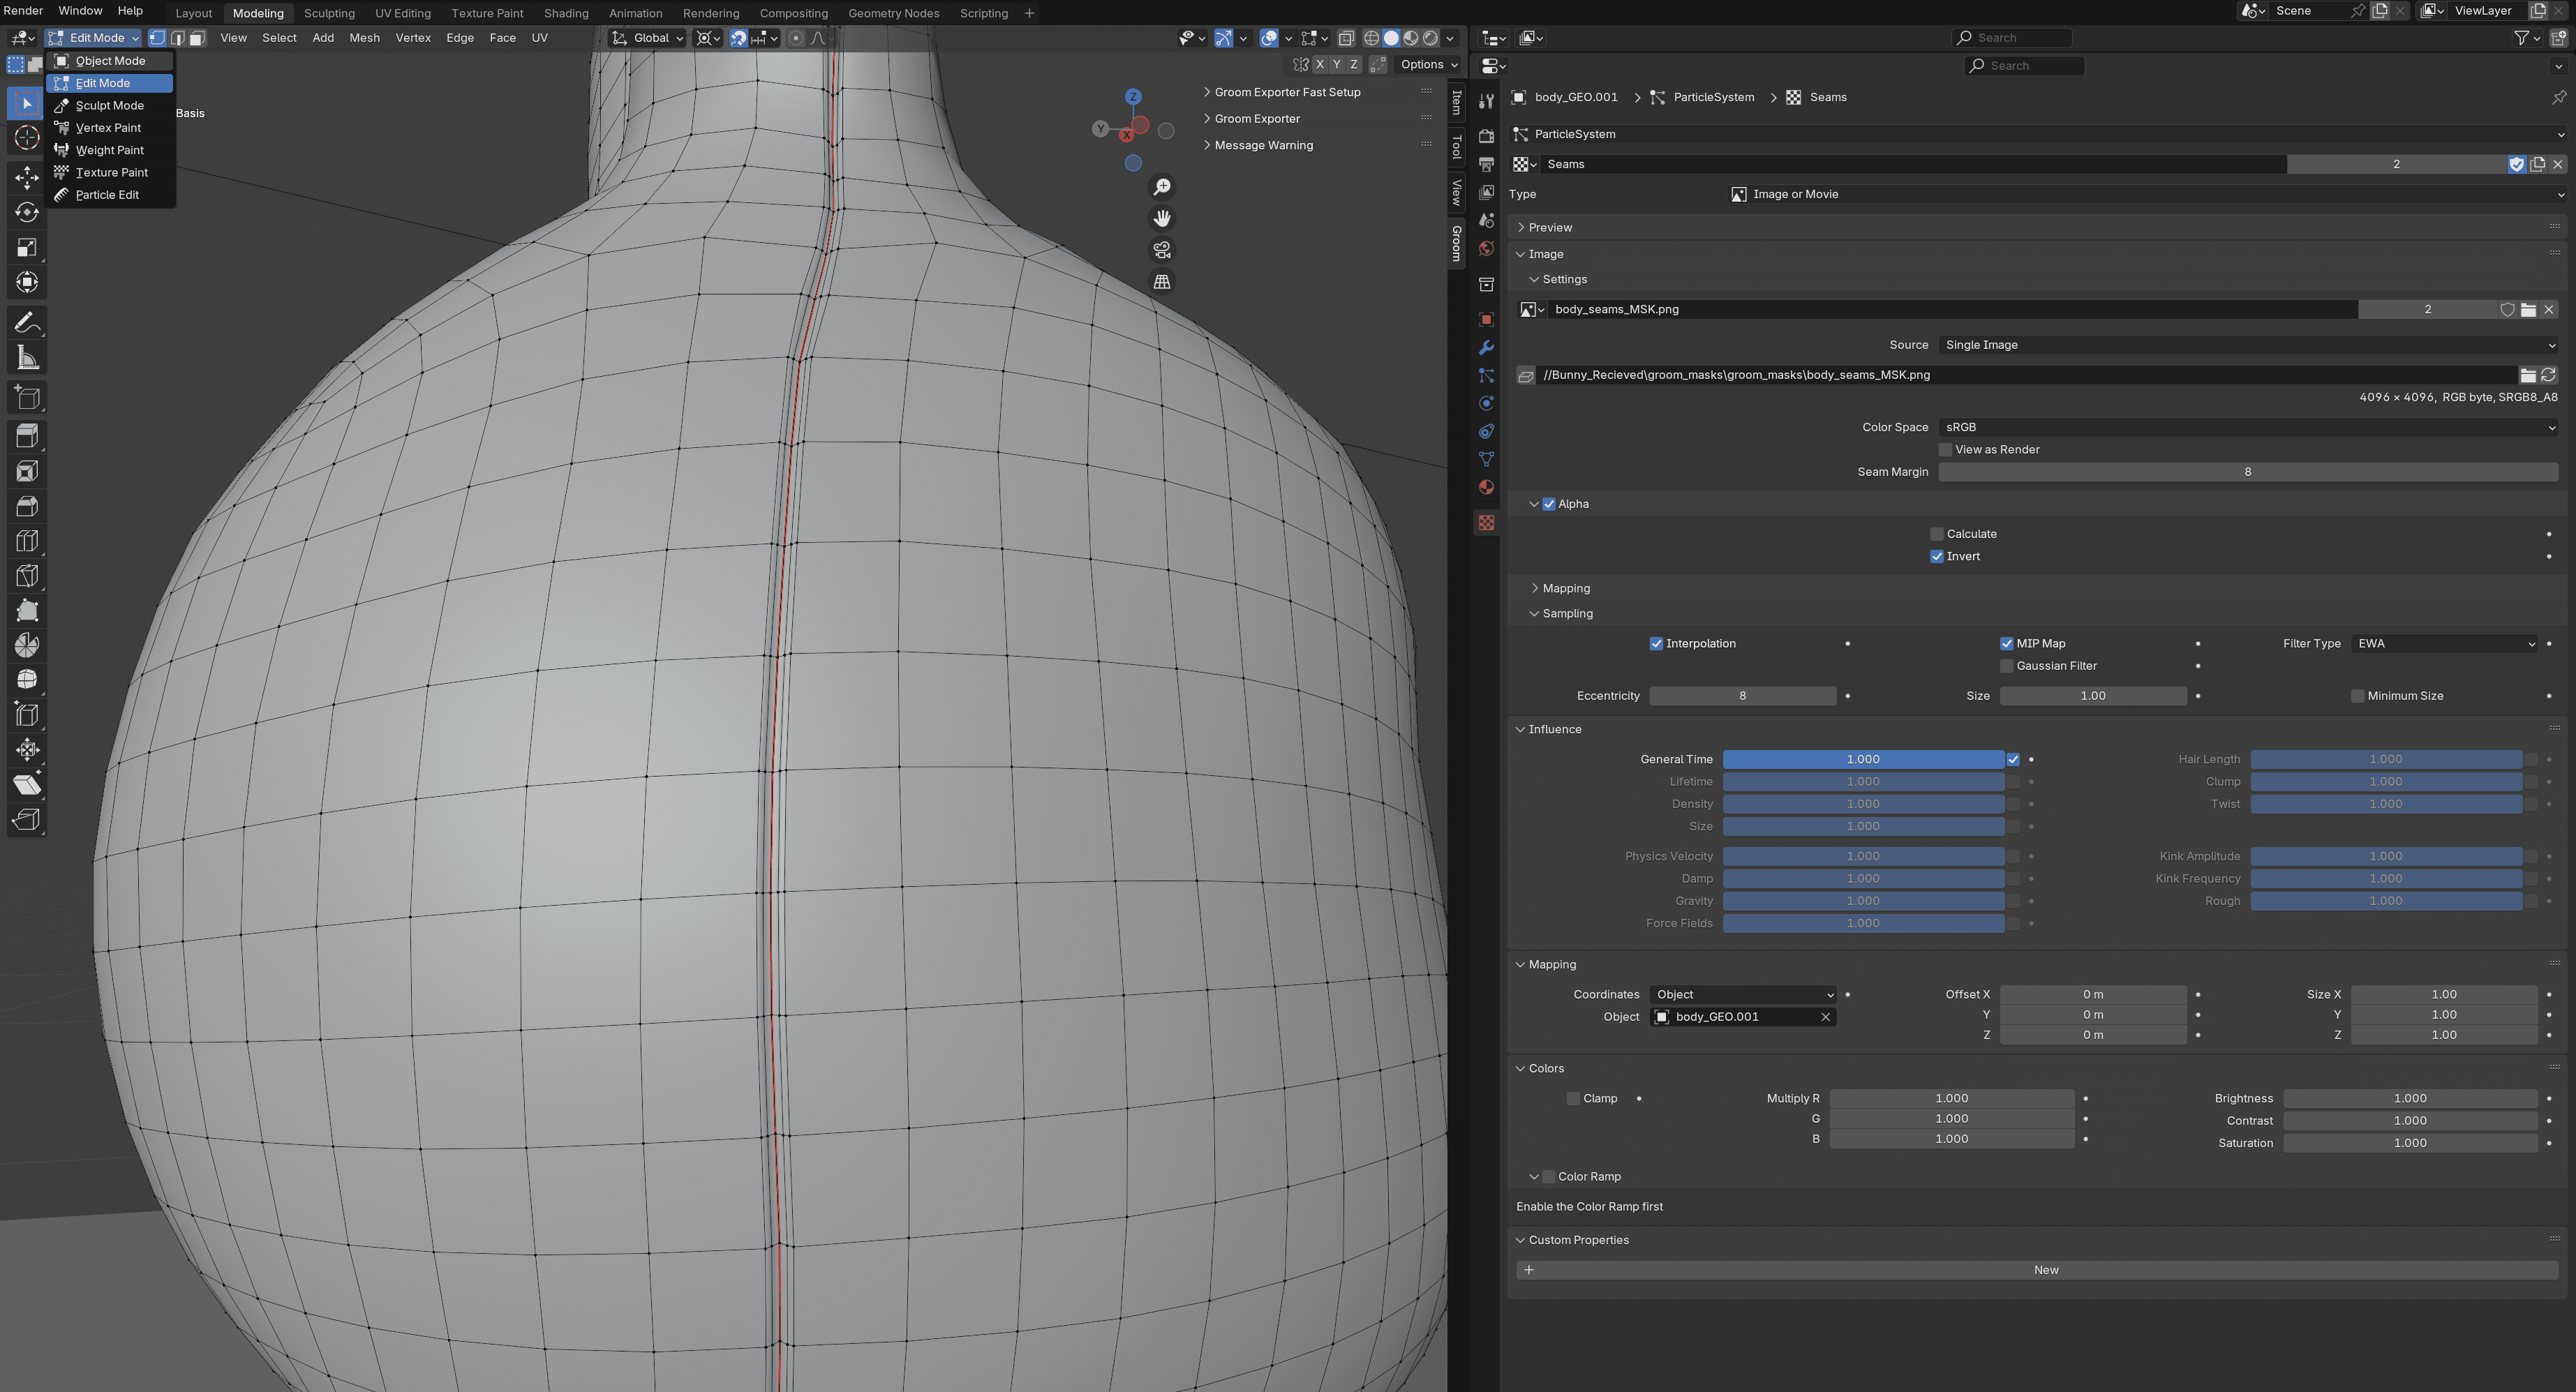
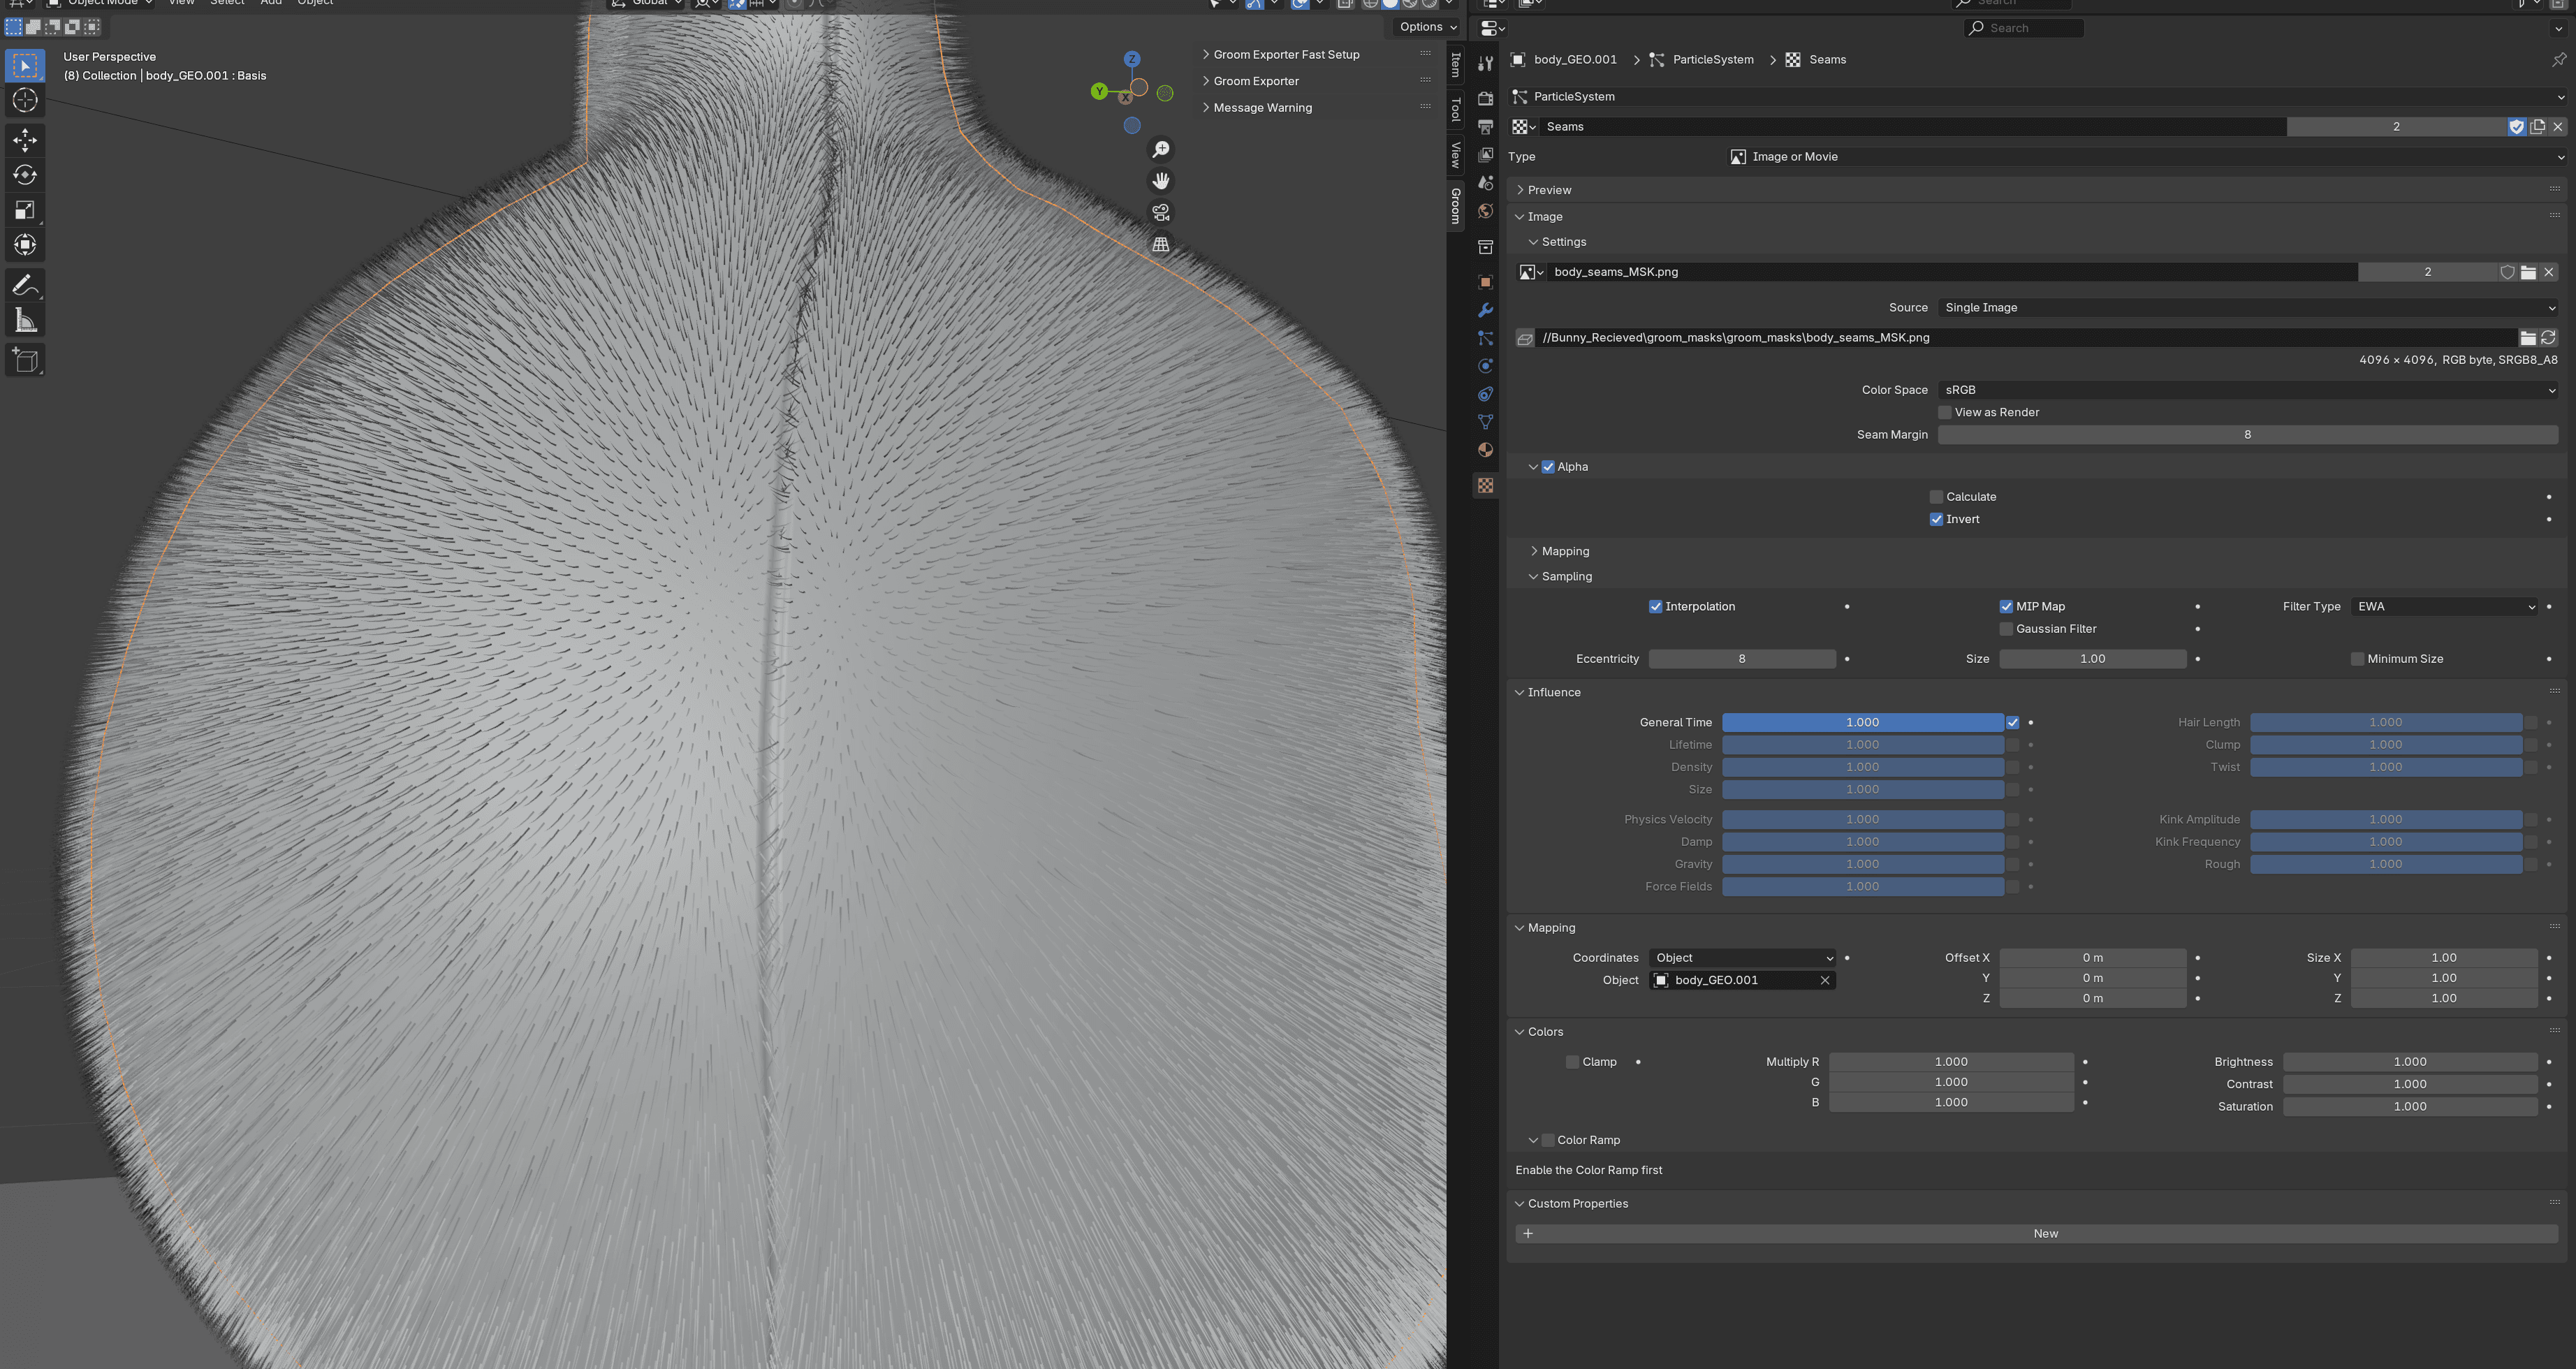
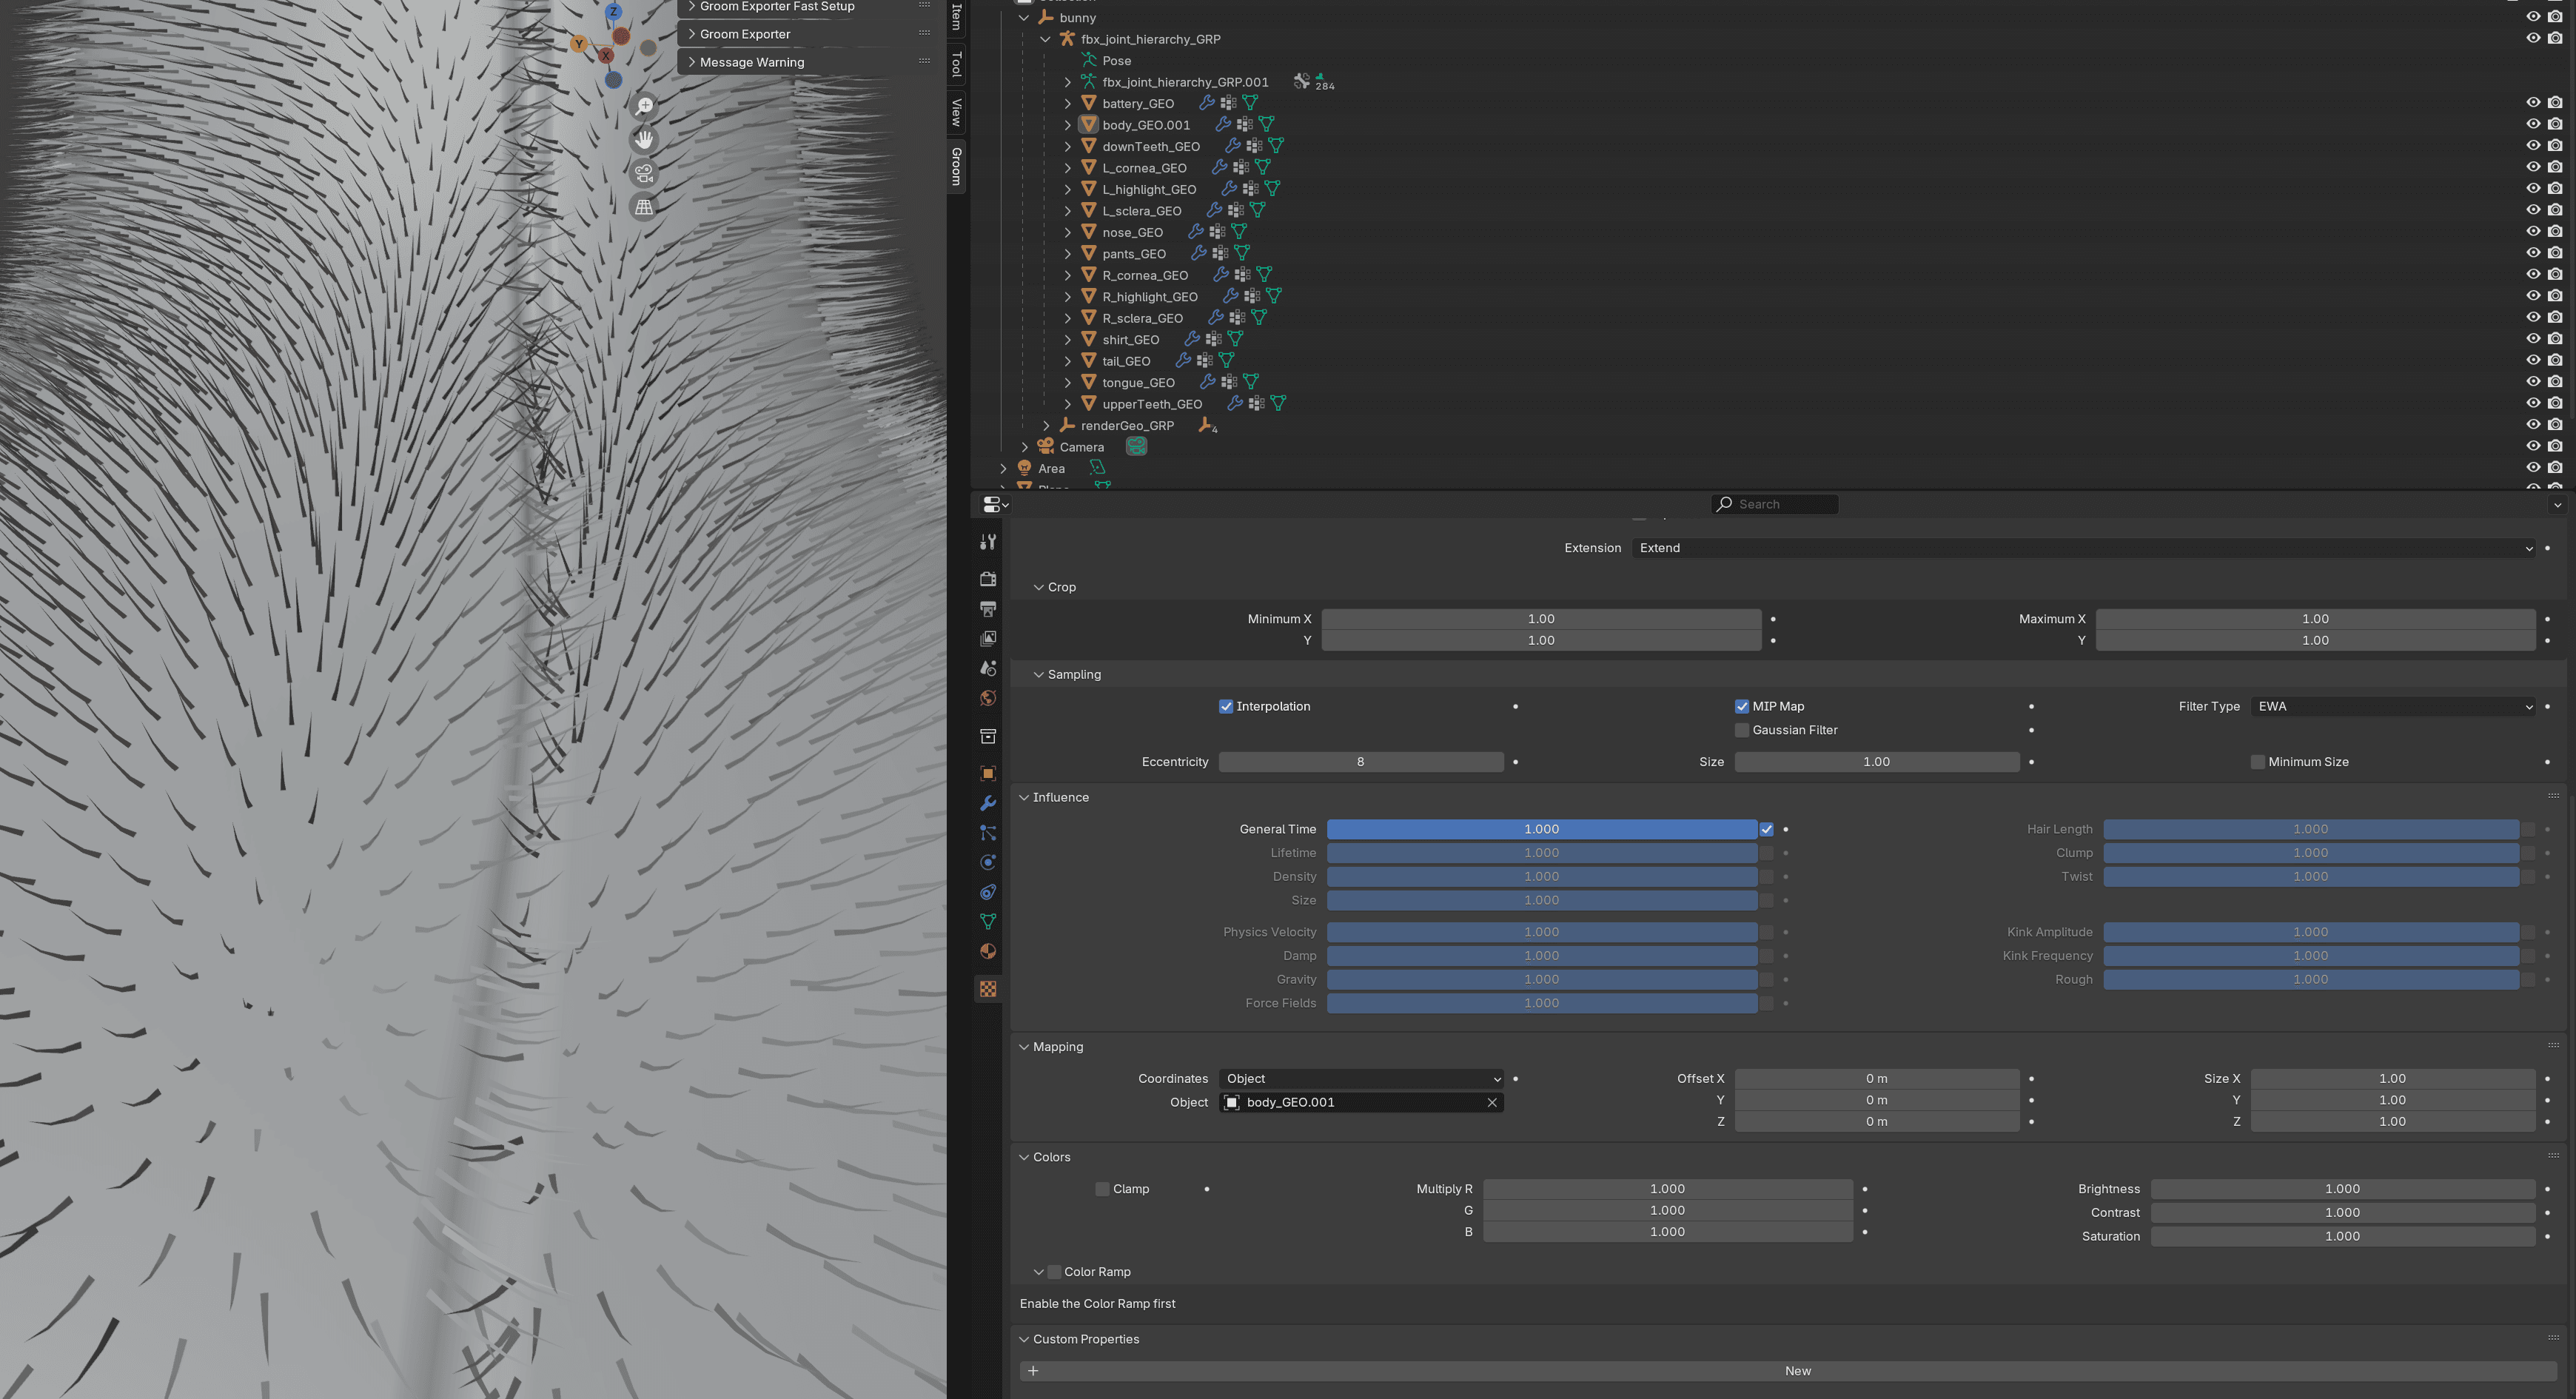
Particles to curves.
The curves stay anchored to the mesh surface through UV-based coordinate mapping on the body geometry.
I made use of particle systems within Blender in sculpt mode, then transformed the particle hair into editable Curve data. A non-destructive pipeline.
From there, the hair becomes a procedural asset that I refined through Geometry Nodes using Interpolate Hair Curves for child generation, plus styling nodes for clumping, noise, and frizz.
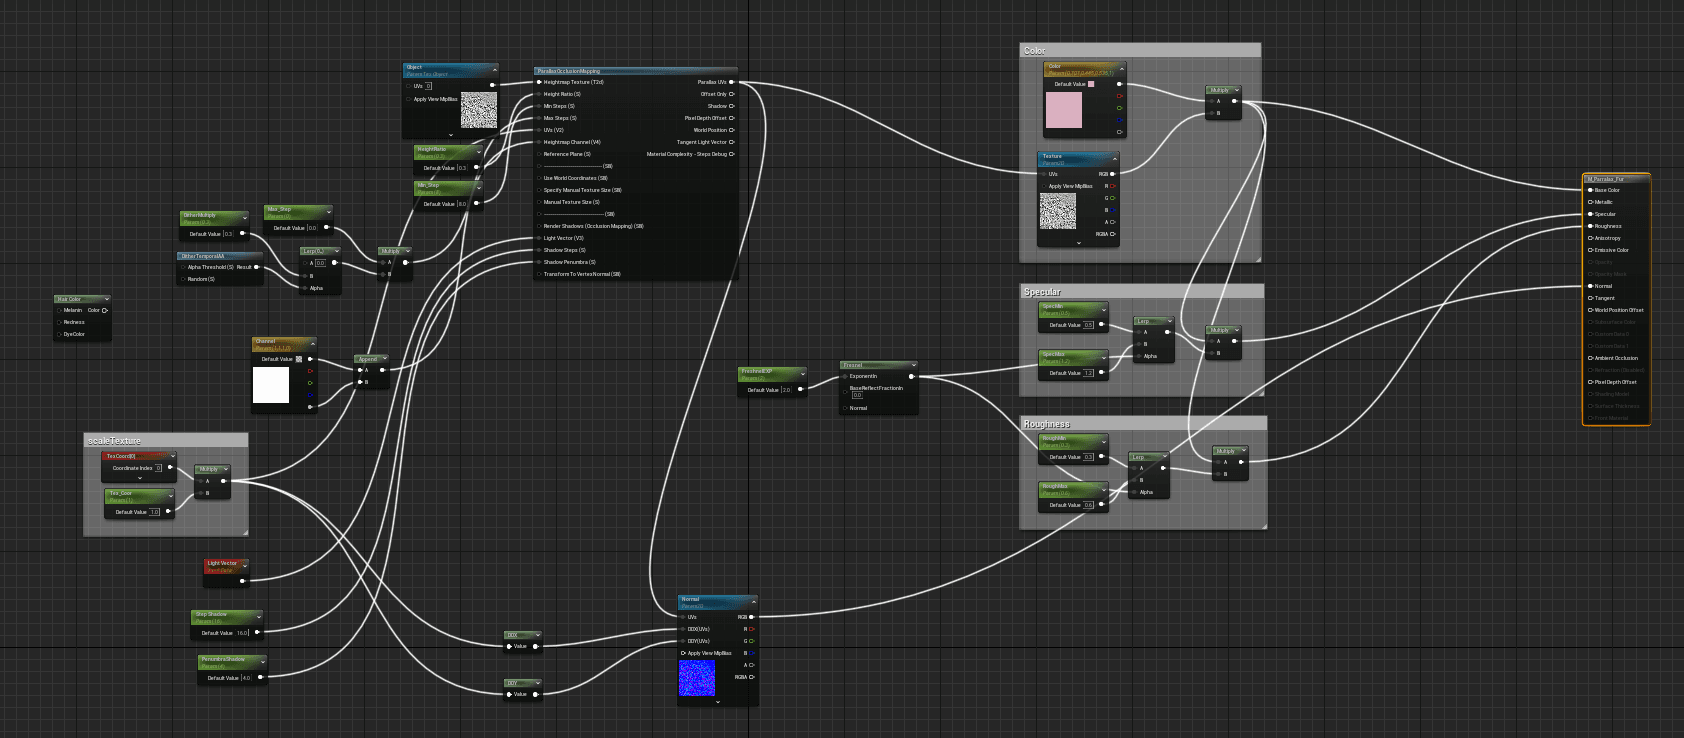
Parallax Shader Graph.
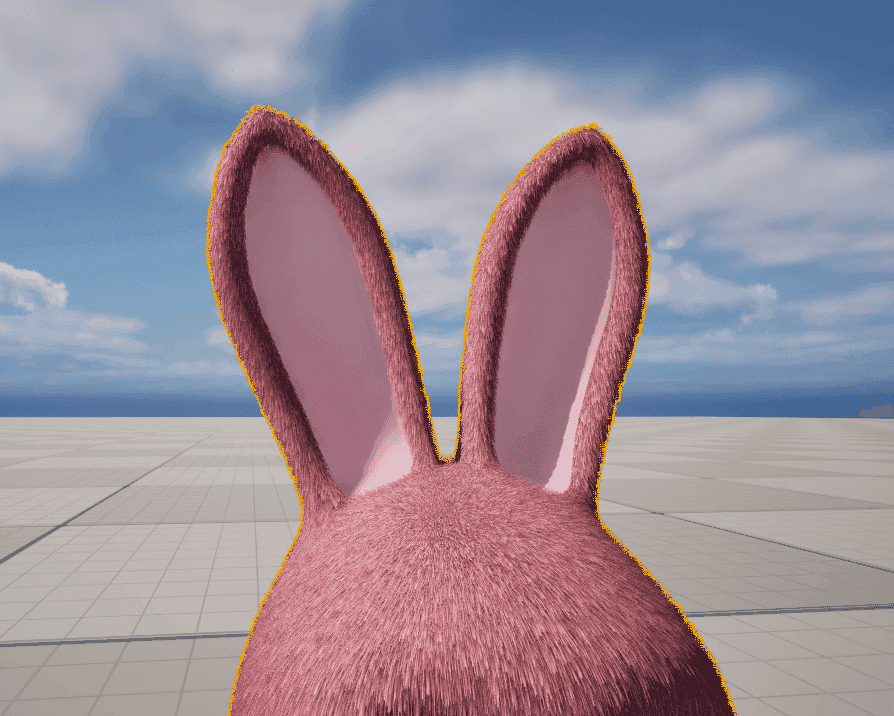
Depth and volume for fur — without rendering actual geometry.
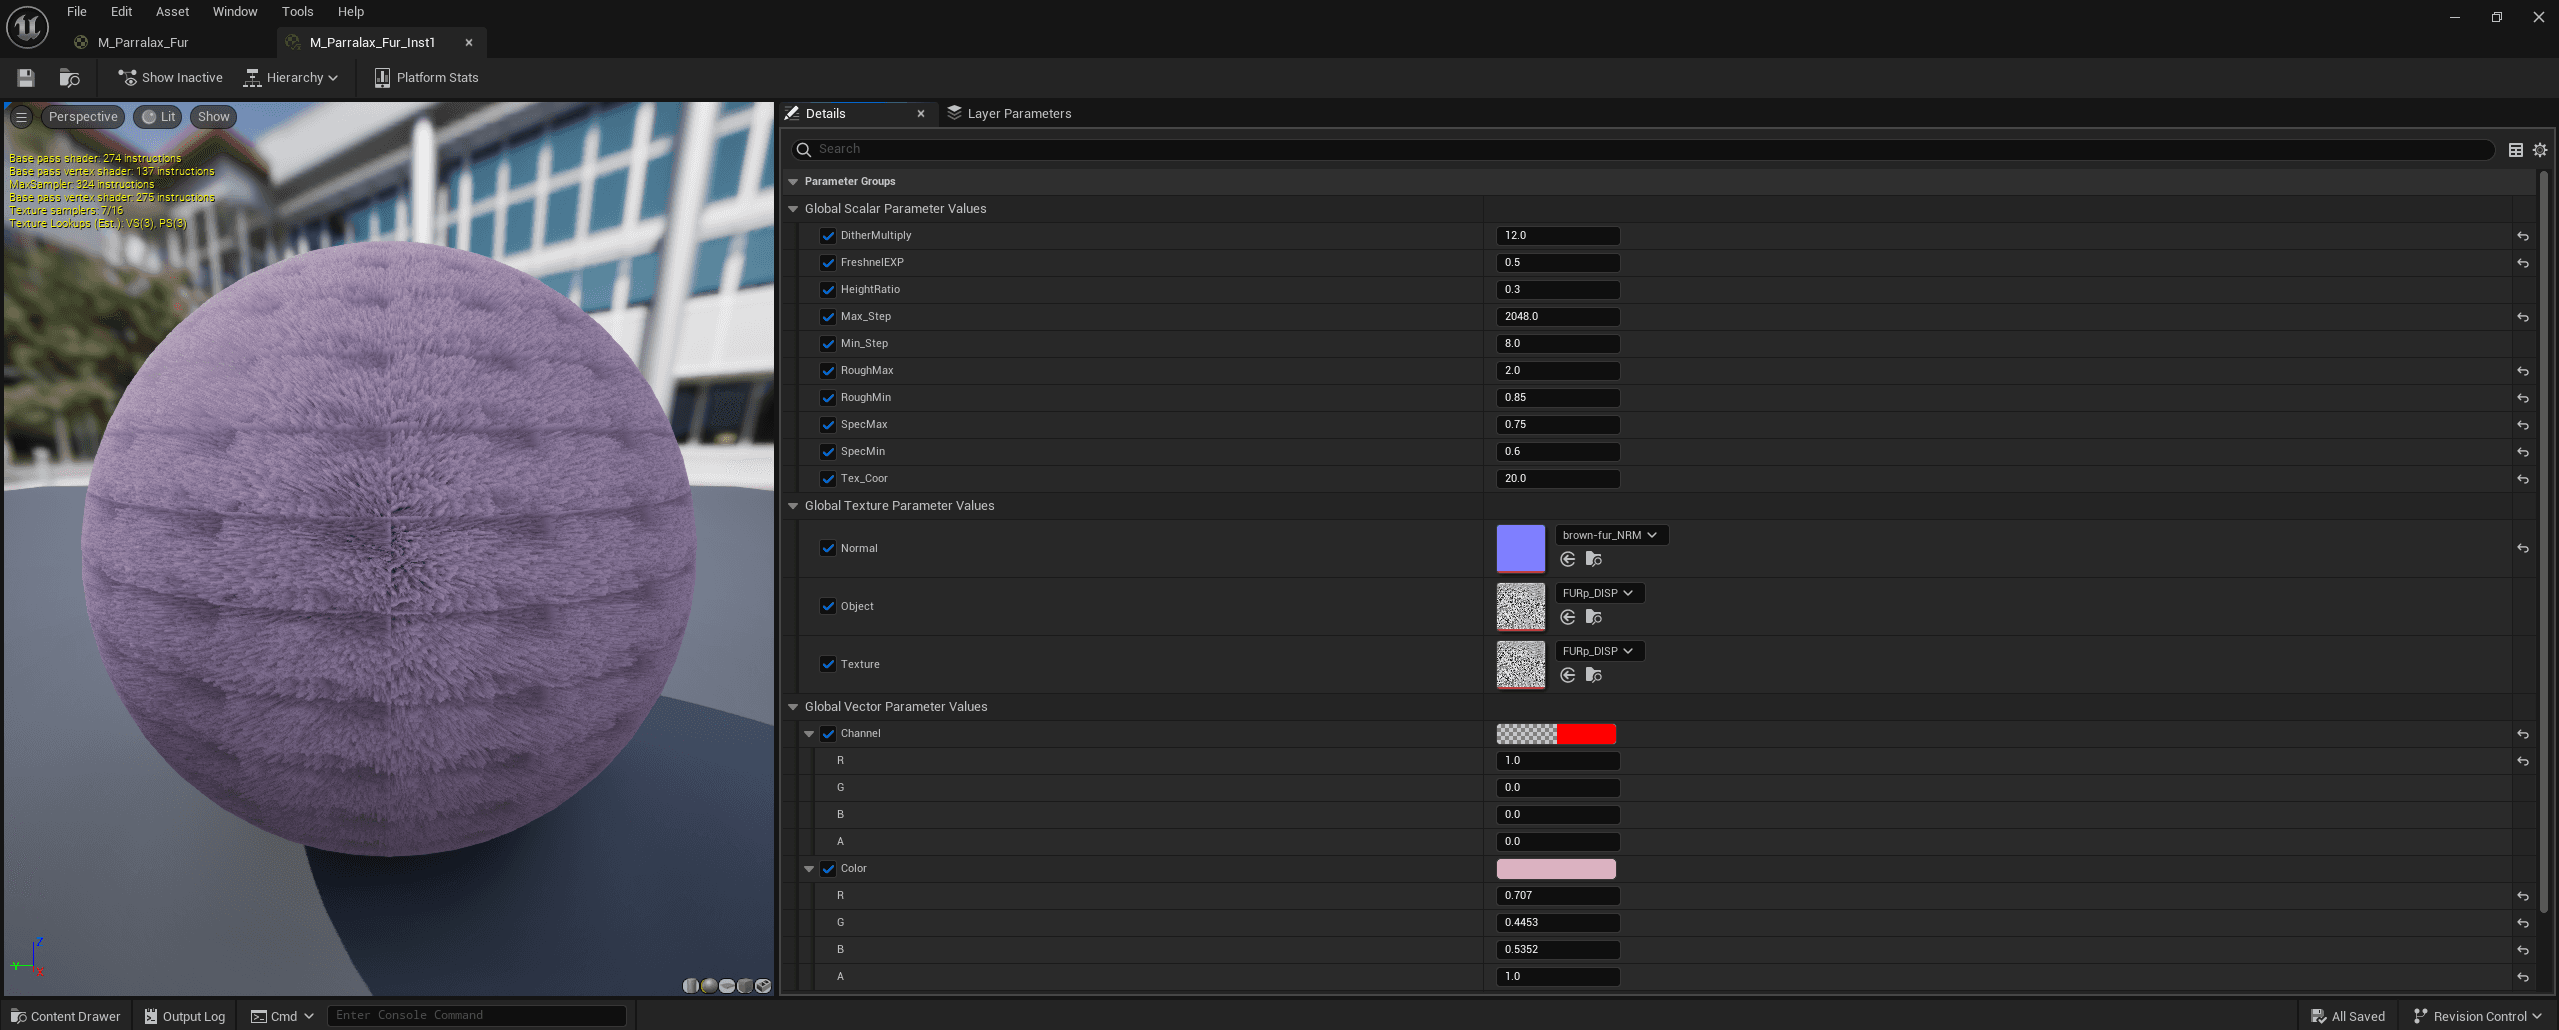
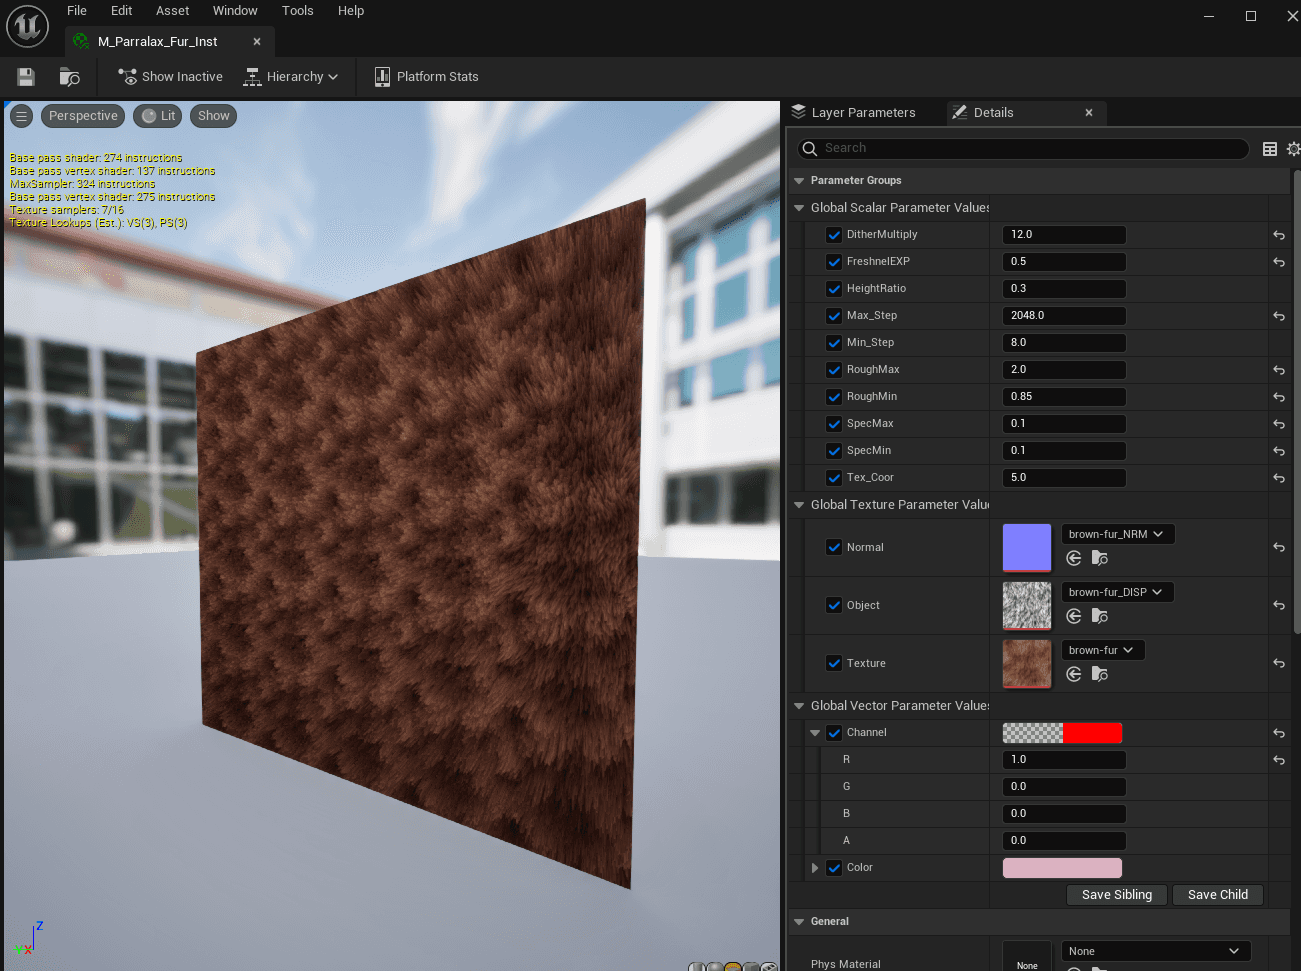
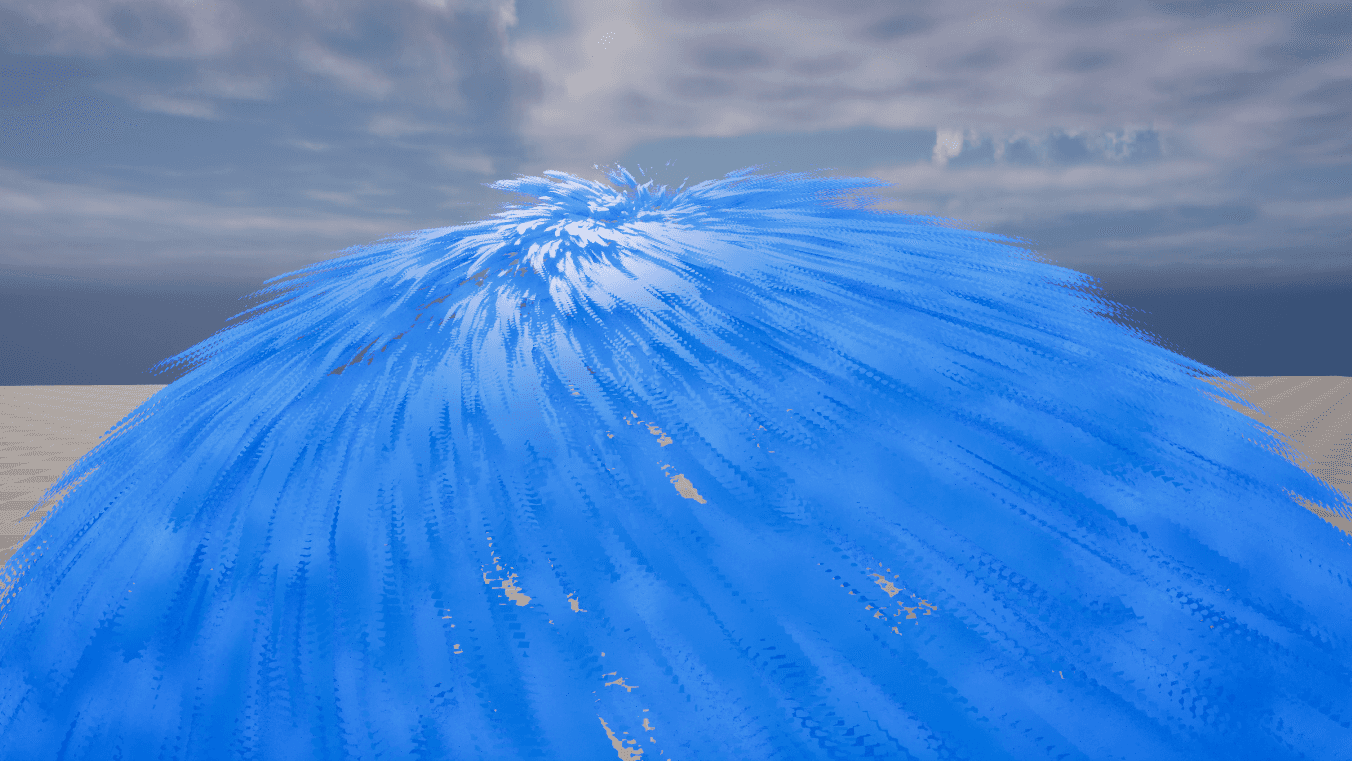
I built a parallax shader within Unreal Engine 5 Blueprints to simulate depth and volume for fur without rendering actual geometry. It uses Parallax Occlusion Mapping to offset texture coordinates based on the view angle, creating the illusion of dense, layered strands on a flat surface.
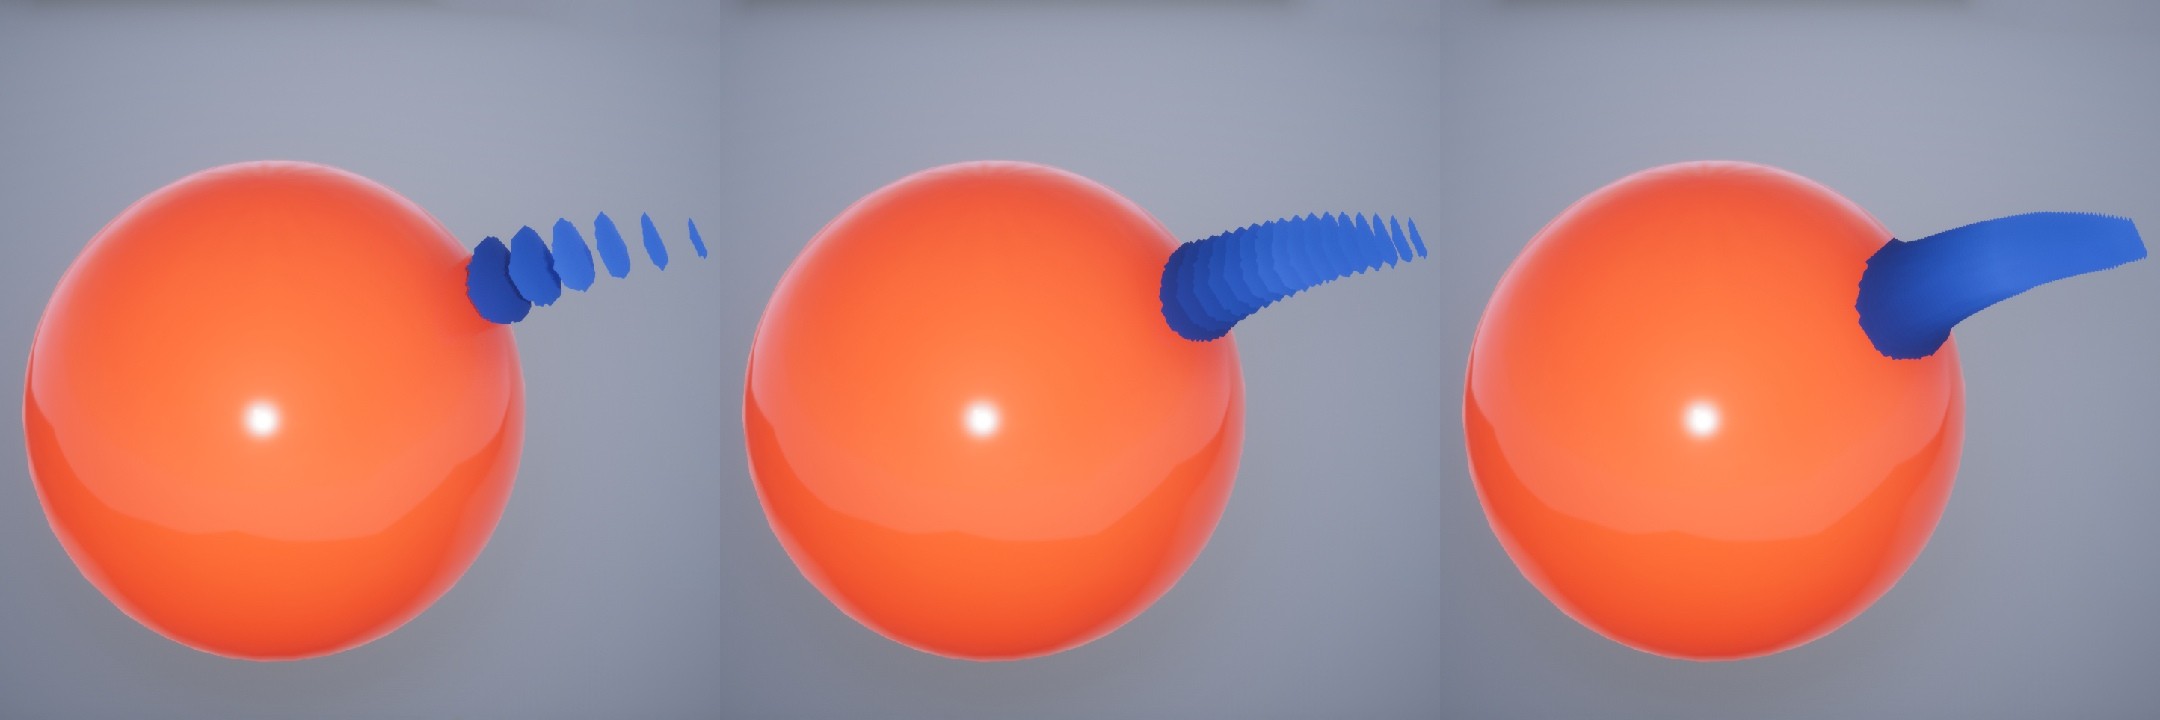
A diagram from the GFur documentation which led me to experiment with my own approaches for shell shaders.
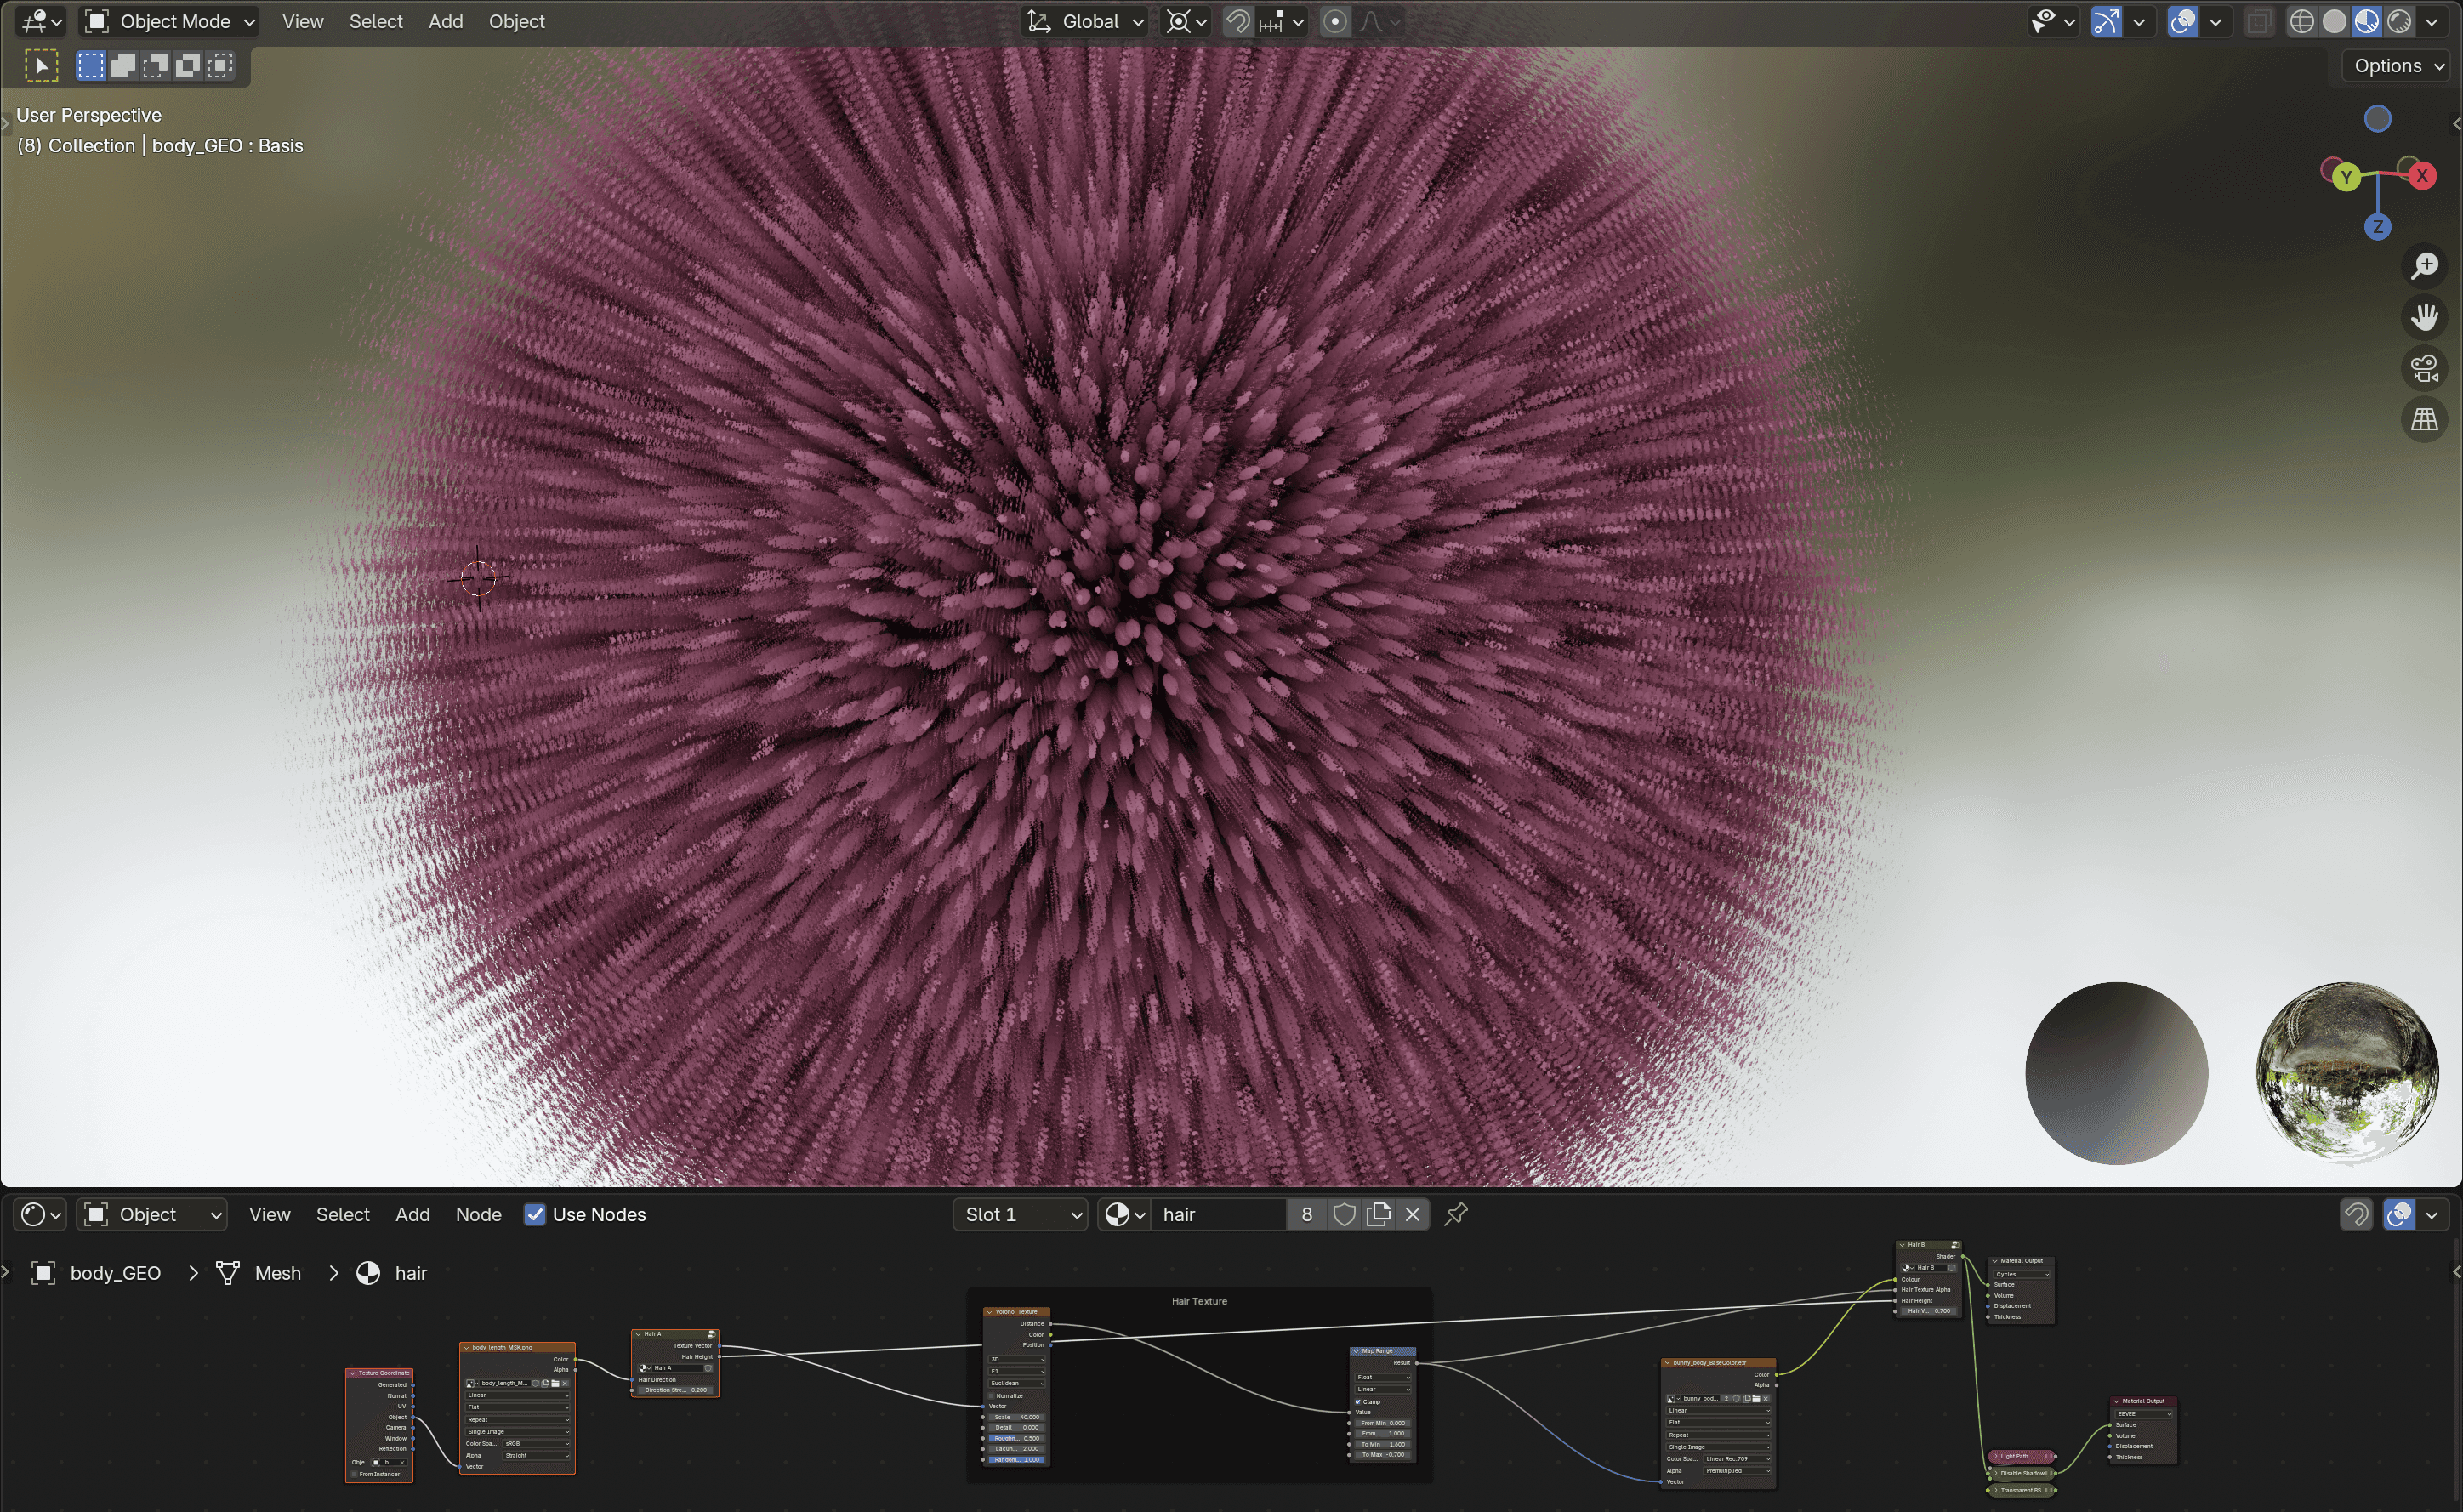
Shell shader graph with wind simulation node.
Multiple semi-transparent layers stacked outward from the mesh — building volumetric fur from flat geometry.
Each layer samples a noise or strand texture with increasing offset, building up the appearance of volumetric fur. I also created versions in Blender with the Voronoi Texture worley noise node.
UE5 Mask GFur Workflow.
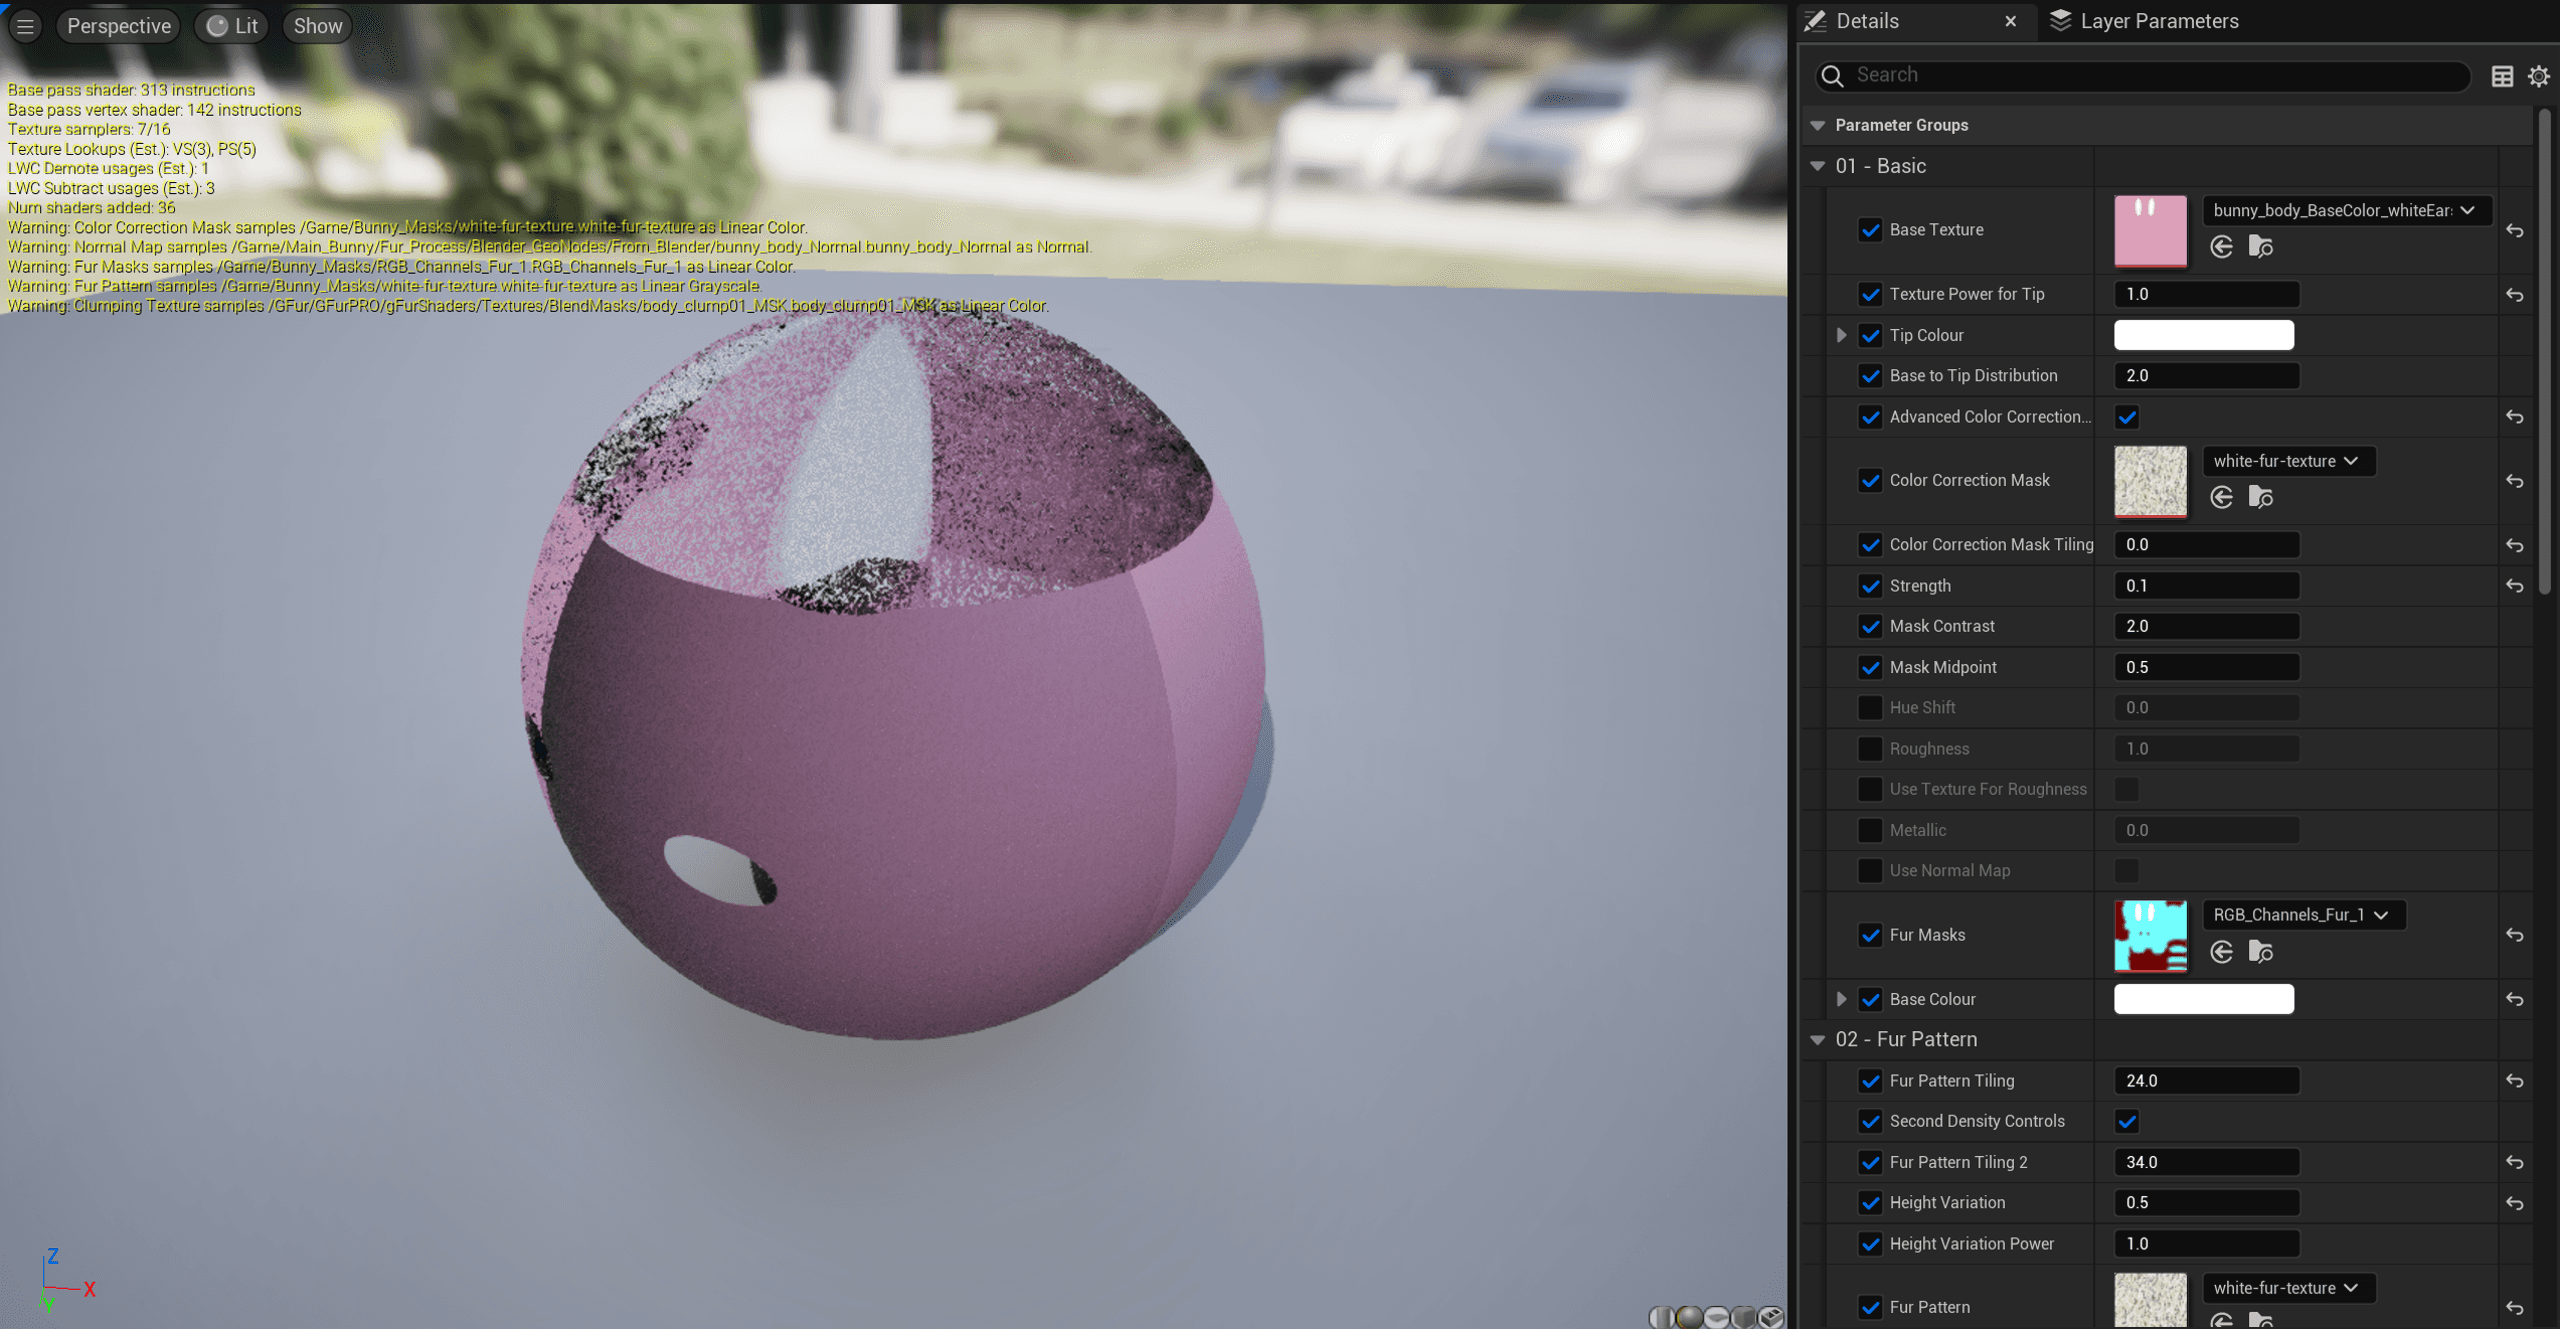
The setup involved adding a GFur component to a skeletal mesh, and assigning a 'Grow Mesh' (which defines where fur shells generate from). The plugin uses a shell-based rendering approach with material parameters for density, thickness, clumping, wind, and ambient occlusion.
The texture maps shown control different aspects of the fur's appearance and behaviour. The blend mask (RGB composite) determines where fur grows, its length variation, and blends between density/thickness settings across different body regions. The fur pattern texture defines individual strand placement. White areas form visible strands while black areas cut through the shells.
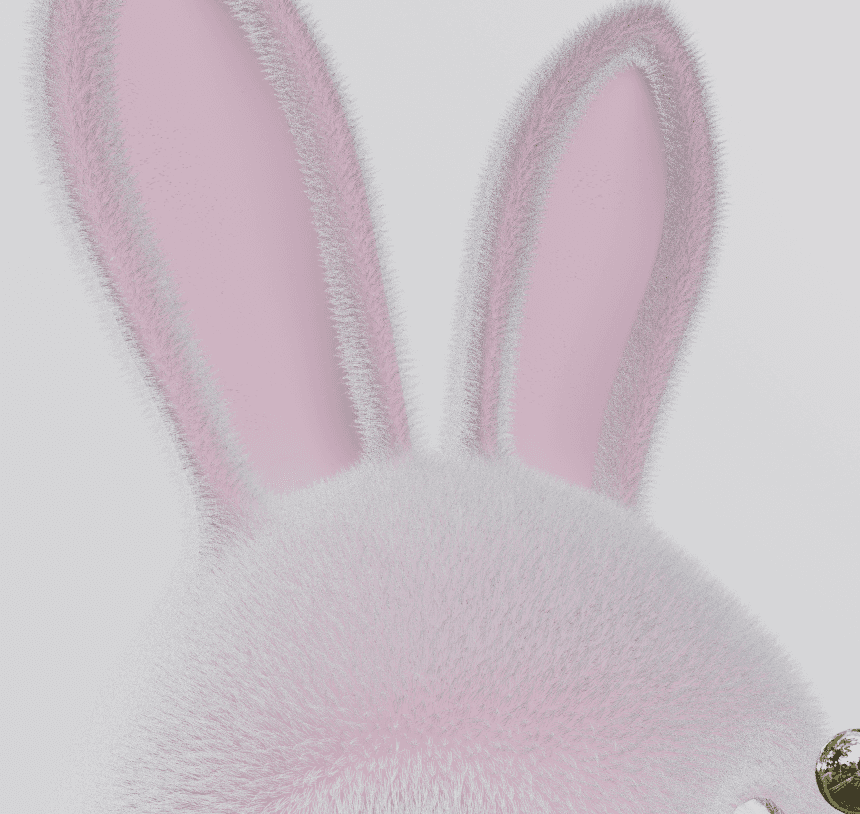
Documented shader experiments and provided the team with approaches for different performance requirements.
Next project
Next project
Next project